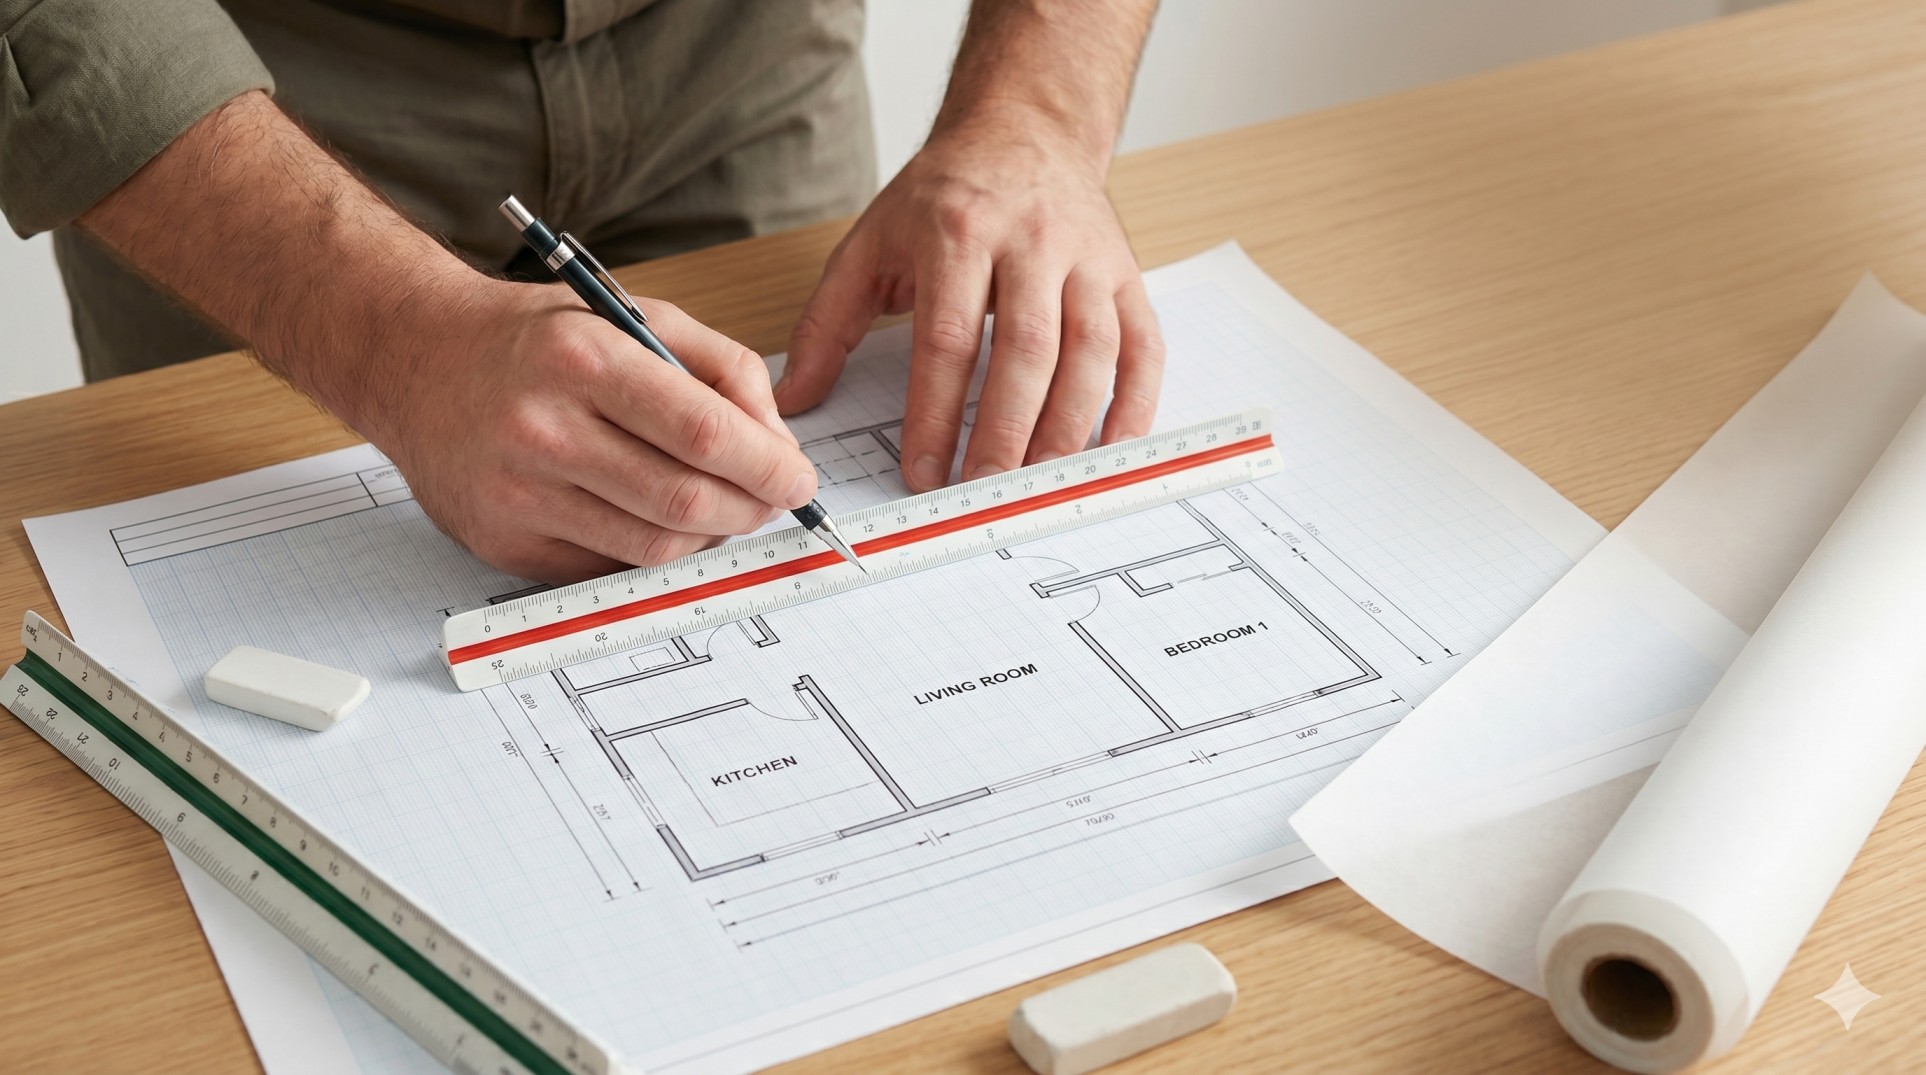
Creating a floor plan by hand may sound old-school in a world full of design apps and AI-powered software, but manual drafting still plays a major role in architecture, interior design, and home planning. Learning how to manually draft a basic floor plan helps beginners understand spatial relationships, scale, measurements, and layout planning before jumping into digital tools.
Whether you are planning a home renovation, designing a small office, or simply exploring architectural drafting basics, hand-drawing a layout gives you greater control over every detail. It also sharpens your technical drawing skills and improves your understanding of room proportions. Think of it as the “learn to drive stick before Formula 1” version of architecture.
A basic floor plan is a scaled drawing that shows the arrangement of rooms, walls, doors, windows, and furniture from a top-down perspective. These plans help homeowners, builders, contractors, and designers visualize how a space will function before construction begins.
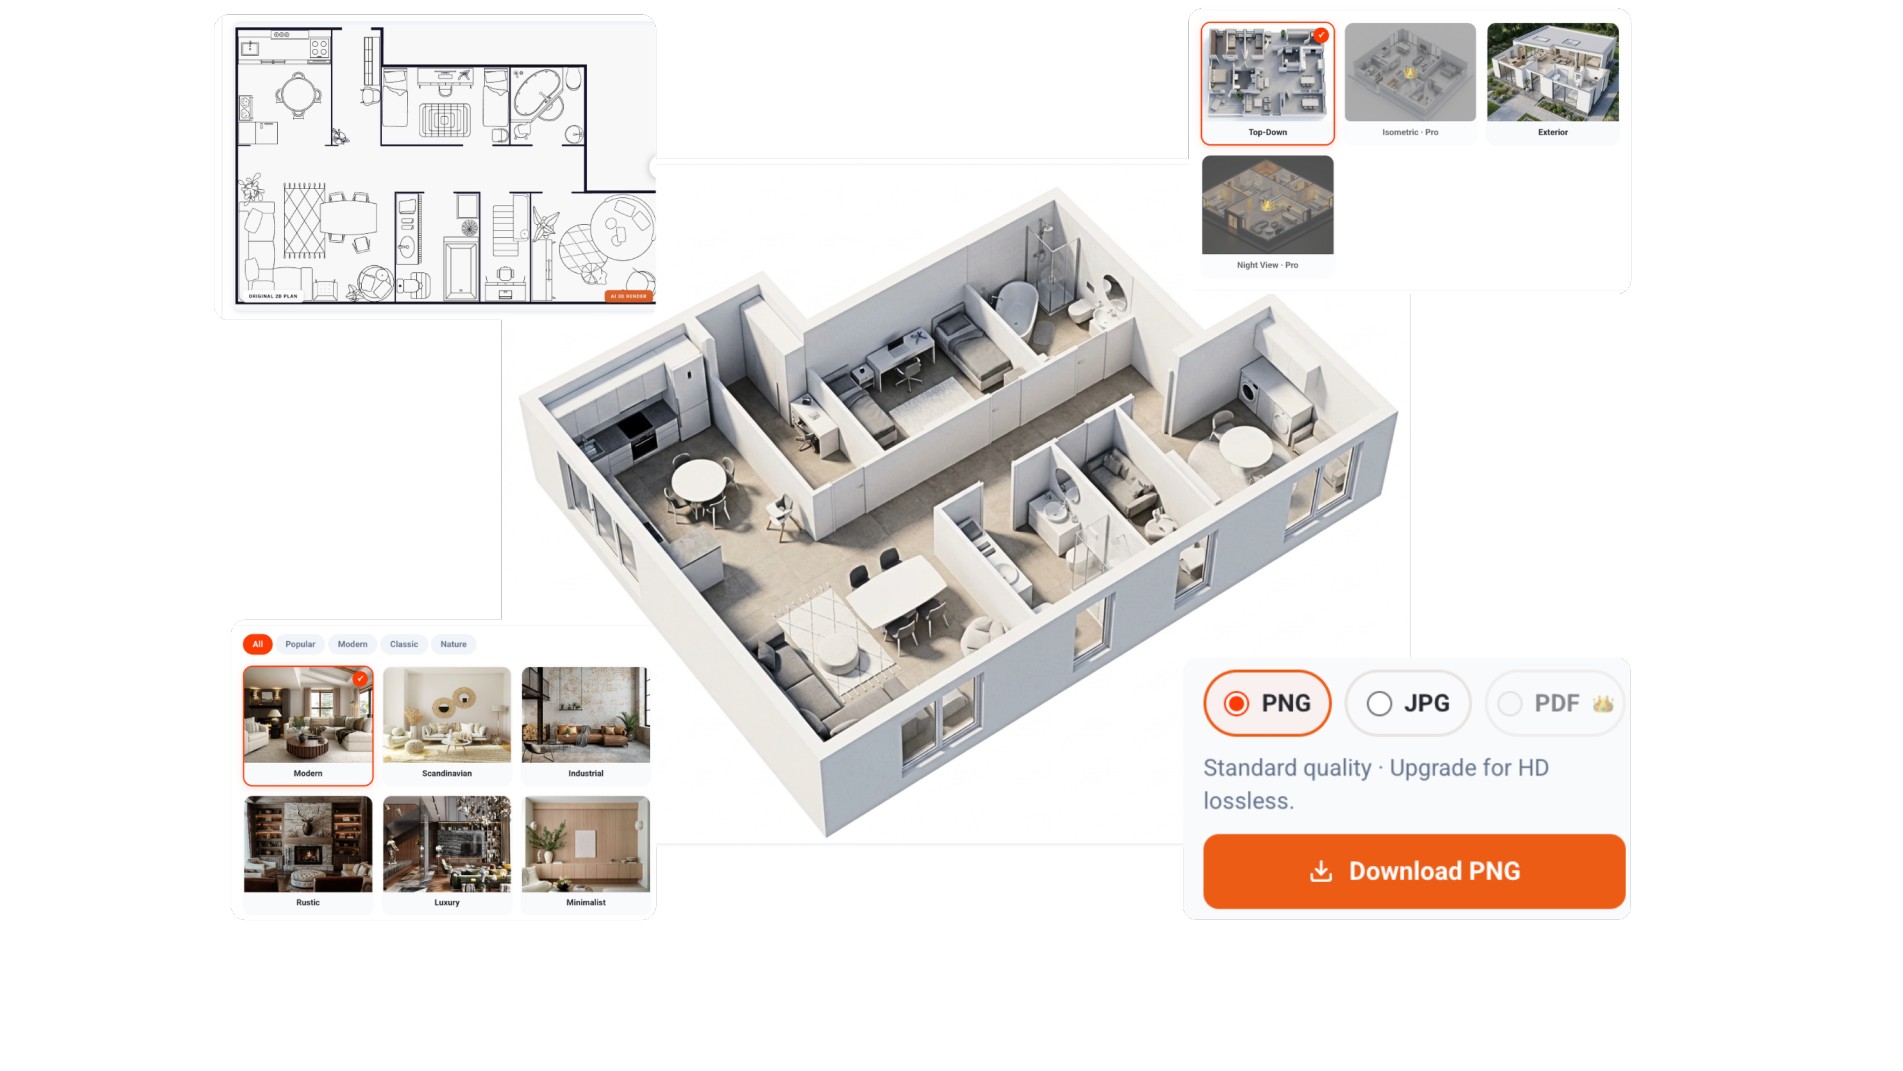
If you want to skip manual drafting and generate accurate floor plans instantly, try our AI-powered floor plan generator. Turn rough ideas into professional layouts in seconds.
Generate
In this guide, you will learn how to manually draft a basic floor plan step by step, including the tools, measurements, scales, and drafting techniques commonly used by beginners and professionals alike.
What Is a Basic Floor Plan?
A basic floor plan is a simple two-dimensional drawing that represents the layout of a building or room when viewed from above. It shows how spaces connect and provides important information about dimensions, walls, entrances, and fixtures.
Floor plans are commonly used in architecture, construction, interior design, and real estate because they help people understand how a space is organized before any physical work begins.
Purpose of a Floor Plan
The main purpose of a floor plan is to create a visual representation of a space. Instead of imagining room sizes and layouts mentally, a floor plan allows you to see everything clearly on paper.
A hand-drawn floor plan can help with:
Planning room layouts efficiently
Visualizing furniture placement
Estimating construction materials
Organizing traffic flow inside a building
Communicating ideas to builders or designers
Preparing for remodeling projects
When you manually draft a basic floor plan, you gain a better understanding of spacing, dimensions, and structural relationships. Even professional architects often begin projects with quick hand sketches before moving to computer software.
Types of Floor Plans
There are several types of floor plans depending on the purpose of the project.
Residential Floor Plans
These are used for homes, apartments, and residential buildings. They include bedrooms, kitchens, bathrooms, living areas, and utility spaces.
Commercial Floor Plans
Commercial layouts focus on offices, stores, restaurants, warehouses, and other business spaces. These plans often prioritize workflow and accessibility.
Concept Sketches
Concept floor plans are rough drafts used during the early planning stages. They are less detailed but useful for brainstorming layouts and room arrangements.
No matter the style, the core process remains similar when learning how to manually draft a basic floor plan accurately.
Tools Needed for Manual Floor Plan Drafting
Before you begin drawing, it is important to gather the right drafting tools. Using proper equipment improves accuracy, keeps measurements consistent, and makes the drafting process much smoother. Even simple tools can help you create professional-looking floor plans by hand.
Essential Drafting Tools
Graph Paper
Graph paper makes it easier to maintain proportions and draw to scale. The grid lines help align walls, doors, and room dimensions accurately.
Pencil and Eraser
A good-quality pencil allows you to sketch lightly and make adjustments easily. Most beginners prefer HB or 2H pencils for drafting because they create clean, precise lines.
Architect Scale or Ruler
An architect scale helps convert real-world measurements into scaled drawings. This is one of the most important tools when manually drafting a basic floor plan.
Measuring Tape
You will need a measuring tape to collect accurate dimensions of rooms, windows, doors, and walls before drawing the layout.
T-Square
A T-square helps create perfectly straight horizontal lines and improves drafting precision.
Compass
Compasses are useful for drawing curves, arcs, and circular elements when needed in architectural layouts.
Optional Tools for Better Accuracy
Drafting Board
A drafting board provides a stable surface and keeps your drawings aligned properly.
Drafting Templates
Templates contain ready-made shapes for doors, windows, furniture, and symbols commonly used in floor plans.
Fine-Tip Pens
Once your sketch is finalized, fine-tip pens can be used to trace permanent clean lines over the pencil marks for a more polished presentation.
Step-by-Step Guide to Manually Draft a Basic Floor Plan
Once you have gathered your tools, the next step is learning the actual drafting process. Understanding each stage carefully will help you manually draft a basic floor plan that is accurate, readable, and professionally organized.
Even beginners can create clean floor plans by following a structured workflow and paying close attention to measurements and scale.
Step 1 – Measure the Space
Before drawing anything, you need accurate dimensions of the area you plan to draft. Measurements are the foundation of every successful floor plan.
Start by measuring:
Exterior wall lengths
Interior wall positions
Door widths
Window sizes
Hallways and openings
Fixed fixtures such as sinks or staircases
Use a measuring tape and write down every dimension clearly in a notebook. Double-check measurements because even small errors can affect the entire layout later.
When measuring rooms, it helps to sketch rough outlines first and add dimensions around the edges. This keeps your notes organized and easier to transfer onto graph paper.
Tips for Accurate Measurements
Measure walls from corner to corner
Record dimensions in the same unit system
Measure doors including swing clearance
Check window placement from nearby corners
Re-measure unusual angles or curved walls
Accuracy matters when you manually draft a basic floor plan because incorrect dimensions can throw off the entire scale of the drawing.
Step 2 – Choose a Drawing Scale
A floor plan is usually drawn smaller than the real building size. This is called drawing to scale.
Using a scale ensures all rooms and objects stay proportional while fitting neatly on paper.
A common residential drafting scale is:
1 inch=4 feet1\ \text{inch} = 4\ \text{feet}1 inch=4 feet
This means every inch on paper represents four feet in real life.
Other common scales include:
1/8 inch = 1 foot
1/4 inch = 1 foot
1 centimeter = 1 meter
Choose a scale based on the building size and paper dimensions. Smaller projects can use larger scales for more detail, while larger buildings may require smaller scales.
Why Scale Matters
Proper scaling helps you:
Maintain accurate proportions
Fit the layout neatly on paper
Keep measurements readable
Improve communication with builders or designers
If the scale changes midway through the drawing, your floor plan can quickly become confusing. Consistency is key.
Step 3 – Draw Exterior Walls
Now it is time to begin the actual floor plan drawing.
Start with the exterior walls because they define the overall shape of the structure. Use your ruler or T-square to create straight lines and keep corners aligned properly.
Draw lightly with pencil first so corrections can be made easily.
Tips for Drawing Exterior Walls
Begin with the longest wall first
Use graph paper to maintain alignment
Keep wall thickness consistent
Mark corners carefully
Leave space around the drawing for notes and dimensions
Most floor plans use double lines to represent wall thickness instead of single outlines. This makes the drawing look more professional and realistic.
As you manually draft a basic floor plan, focus on clarity rather than artistic detail. Clean lines and readable dimensions matter more than decorative elements.
Step 4 – Add Interior Walls
Once the outer structure is complete, divide the space into rooms using interior walls.
Use your measurements to position bedrooms, bathrooms, kitchens, and hallways accurately inside the layout.
Pay attention to:
Room proportions
Traffic flow
Wall alignment
Door placement
Interior walls should maintain the same scale and thickness style used for exterior walls.
Common Interior Layout Mistakes
Making hallways too narrow
Forgetting closet space
Misaligning connecting walls
Ignoring furniture clearance
A smart room layout improves functionality and makes the floor plan easier to understand.
Step 5 – Insert Doors and Windows
Doors and windows are essential components of any floor plan because they affect movement, lighting, and ventilation.
Doors are usually represented by a gap in the wall with a curved swing arc showing the opening direction.
Windows are typically drawn as thin parallel lines within wall openings.
Important Placement Tips
Ensure doors have enough swing space
Avoid window placement conflicts with furniture
Keep windows aligned for visual balance
Maintain realistic spacing between openings
Standard architectural symbols help keep your hand-drawn floor plan organized and universally understandable.
Step 6 – Label Rooms and Add Dimensions
After the structure is complete, label every room clearly.
Examples include:
Living Room
Kitchen
Bedroom
Bathroom
Storage Area
Then add dimensions to walls, door openings, and important spaces. Place measurements neatly outside the walls whenever possible to avoid clutter.
Best Practices for Labeling
Use clear block lettering
Keep text readable
Align labels consistently
Avoid overcrowding the drawing
A well-labeled plan is easier for contractors, designers, and homeowners to interpret.
Step 7 – Review and Refine the Plan
The final step is reviewing your entire drawing carefully.
Check for:
Missing measurements
Misaligned walls
Incorrect door swings
Scale inconsistencies
Unclear labels
Erase unnecessary sketch marks and darken finalized lines if needed.
Many beginners rush through this stage, but reviewing is one of the most important parts of manually drafting a basic floor plan. Small corrections at this stage can prevent major problems later.
A polished hand-drawn floor plan should look organized, proportional, and easy to understand even for someone seeing it for the first time.
Common Floor Plan Symbols Beginners Should Know
Understanding drafting symbols is an important part of learning how to manually draft a basic floor plan. These symbols make drawings easier to read and help communicate design ideas clearly.
Architects and designers use standardized symbols so builders and contractors can interpret plans quickly without confusion.
Door Symbols
Doors are usually represented by a gap in the wall combined with a curved arc that shows the direction the door swings open.
Different styles may include:
Single doors
Double doors
Sliding doors
Pocket doors
Correct door placement is important because it affects room functionality and traffic flow.
Window Symbols
Windows are commonly shown as thin parallel lines placed inside wall openings.
The symbol indicates:
Window width
Placement
Orientation
Proper window positioning improves lighting and ventilation within the floor plan.
Stair Symbols
Stairs are represented using parallel lines with directional arrows indicating whether the staircase moves upward or downward.
Floor plans may also label:
Number of steps
Landing areas
Stair direction
Appliance and Fixture Symbols
Bathrooms and kitchens often include symbols for fixtures and appliances such as:
Toilets
Sinks
Bathtubs
Refrigerators
Stoves
Washing machines
Adding these details makes a hand-drawn floor plan more practical and realistic.
Tips for Drawing Accurate Floor Plans by Hand
Even simple mistakes can reduce the accuracy of a floor plan. Following professional drafting habits helps improve precision and readability.
Keep Measurements Consistent
Always use the same scale throughout the drawing.
Changing scales midway can distort room proportions and create confusion during construction or remodeling.
Use Light Sketch Lines First
Professional drafters often sketch lightly before finalizing lines.
This makes it easier to:
Correct mistakes
Adjust room layouts
Refine wall placement
Once the layout is finalized, darker lines can be added for clarity.
Avoid Overcrowding the Drawing
Leave enough white space between labels, dimensions, and symbols.
A clean floor plan is easier to understand and looks more professional.
Double-Measure Before Finalizing
One incorrect measurement can affect the entire design.
Before finishing your hand-drawn floor plan:
Recheck room dimensions
Verify wall lengths
Confirm door and window positions
Accuracy saves time and prevents costly errors later.
Common Mistakes to Avoid
Beginners learning how to manually draft a basic floor plan often make several common drafting mistakes.
Incorrect Scaling
Using inconsistent scales can make the floor plan inaccurate and difficult to interpret.
Always establish the scale before drawing begins.
Forgetting Wall Thickness
Walls should not be represented by single thin lines alone. Including realistic wall thickness improves accuracy and readability.
Misaligned Doors and Windows
Poorly aligned openings can create unrealistic layouts and affect room functionality.
Poor Labeling
Unreadable labels make the plan confusing.
Use neat block lettering and place room names consistently.
Ignoring Furniture Space
A room may look large on paper but feel cramped in reality.
Consider furniture placement and walking space while drafting.
Manual Drafting vs Digital Floor Plan Software
Technology has changed architectural drafting significantly, but manual drafting still offers valuable benefits.
Advantages of Manual Drafting
Learning to manually draft a basic floor plan helps beginners develop:
Spatial awareness
Measurement accuracy
Technical drawing skills
Understanding of scale and proportion
Hand drafting also requires minimal equipment and no software knowledge.
Advantages of Digital Drafting Software
Digital tools provide features such as:
Faster editing
3D visualization
Automatic scaling
Easier sharing and printing
Popular floor plan software includes CAD programs and online room planners.
Many professionals begin with hand sketches before transferring designs into digital software.
Who Should Learn Manual Floor Plan Drafting?
Manual drafting skills remain useful for many industries and professions.
Architecture Students
Students build foundational drafting knowledge before advancing into advanced CAD software.
Interior Designers
Interior designers use floor plans to organize furniture layouts and room functionality.
DIY Homeowners
Homeowners planning renovations can sketch ideas before hiring contractors.
Contractors and Builders
Builders rely on accurate layouts for construction planning and material estimation.
Real Estate Professionals
Floor plans help visualize property layouts for buyers and marketing materials.
Frequently Asked Questions
Can beginners manually draft a basic floor plan?
Yes. With graph paper, basic tools, and accurate measurements, beginners can create simple floor plans successfully.
What scale is best for hand-drawn floor plans?
A common scale is:
1 inch=4 feet1\ \text{inch} = 4\ \text{feet}1 inch=4 feet
However, larger buildings may require smaller scales.
Do I need professional drafting tools?
No. Beginners can start with:
Graph paper
Pencil
Ruler
Measuring tape
Advanced tools simply improve precision.
How long does it take to draft a simple floor plan?
A basic hand-drawn floor plan may take anywhere from 30 minutes to several hours depending on complexity and detail.
Conclusion
Learning how to manually draft a basic floor plan is an essential skill for beginners interested in architecture, interior design, construction, or home improvement. Hand drafting teaches scale, proportion, measurement accuracy, and layout planning in a practical way that digital software alone cannot fully replace.
By using proper drafting tools, accurate measurements, and standard architectural symbols, you can create clear and functional floor plans by hand. With practice, your drawings will become cleaner, faster, and more professional over time.
Although digital design software dominates modern drafting, manual floor plan drafting remains one of the best ways to understand the fundamentals of spatial design and architectural planning.